
In our Making Data Tangible class, our teacher suggested the Udemy: Designing for 3D course to help us have a foundational understanding of Fusion 360 for the kinds of projects we’ll develop in class.
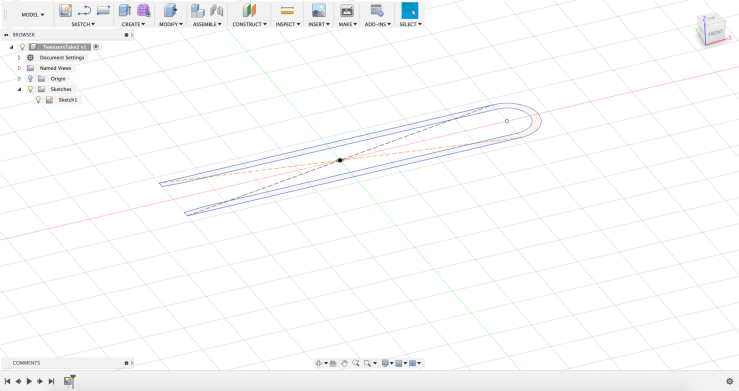
I’m currently working through ‘Section 3: Designs’. The general process for building is to create a 2d sketch first and then extrude into a 3d model.
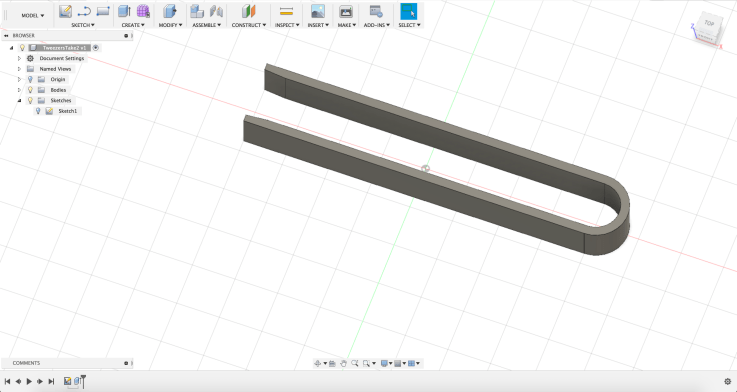
Design Exercise: Tweezers V1
The first 3d printable design is a pair of tweezers. Helpful points/tools covered:
- always save the design first before building, that way it will autosave throughout
- choose the plane that you want to work on
- ex: X, Y plane (green – red)
- L = Line / T = trim / D = sketch dimension
- Start with building a rectangle
- 3 pt arc (will snap into places that create a perfect fit)
- Trim tool (t)
- Offset ( – or + )
- Extend tool (predictive tool)
- Perpendicular constraint (when adding lines)
- Sketch dimensions
- Constraints (horizontal / vertical line)
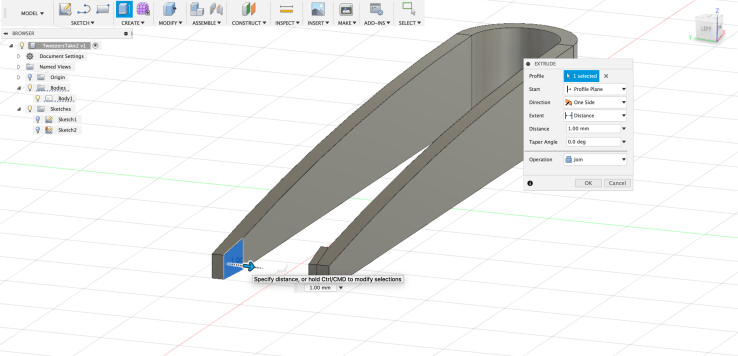
- Adding Fillets
Applying a design pass from to initial U shape


Adding Fillets