
https://www.youtube.com/watch?v=MNP77K9RsjIFor this week thesis teacher Sarah asked me to playtest as many AR apps as I could and see what their strengths and weaknesses were. Then to think which strengths make sense to design for into my mvp / first prototype. For this round I got to test out about 1o different ones and hope to keep exploring more:
- David Bowie Is – AR Exhibtion
- Wonderscope: Story – Red Riding Hood
- Wonderscope: Story – Sinclair Snakes – Museum Mischief
- Big Bang / cern
- Weird Type
- My Caterpillar
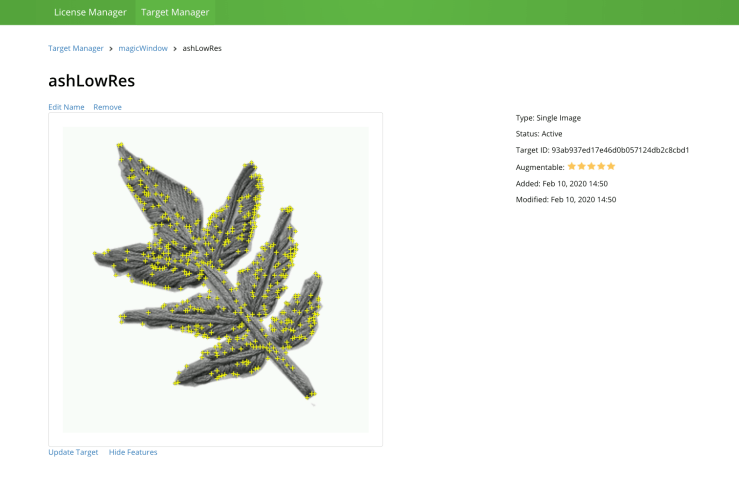
- Picture this
- Seek
- Night Sky
David Bowie AR Exhibit
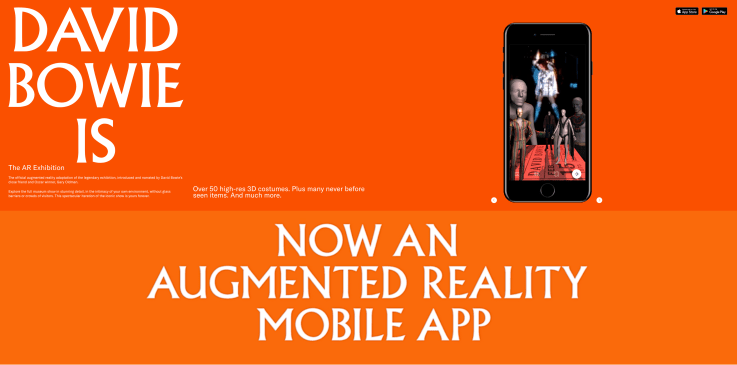
- good range of media available (costumes, liner notes, videos, etc)
- liked the map of gallery lay out / table of contents
- good onboarding
- audio levels of various media (narrator vs song clips) were surprisingly different / a little too jarring in difference?
- reiterated the importance of mastering / unifying & double checking levels for possible use cases (ex: with earbuds vs over ear headphones)
Wonderscope
- voice activation to move story forwards
- encourages interaction with characters / makes the illusion feel more believable as a dialogue exchange
- builds reading skills
- some stories have difficulty with scale if immobile (like tucked in for bed)? but it is meant to encourage the user to move around
- good on boarding to make sure the room is light enough and that the mic & camera permissions are on


- Wonderscope Story – Red Riding Hood
- uses the ability to go into spaces like entering the house with your phone moving through the door
- like the others, can click on items that the character needs to move the story forward
- has a visual indicator of sparkle particles that radiate vertically off the item to be found / clicked (helpful with
- increases interactivity by having user read verb commands that then affect the animations like “spin” or “sprinkle”
- liked the educational aspect of the bigdipper & the north star
- Wonderscope Story – Sinclair Snakes – Museum Mischief
- liked the use of different tool interactions
- flashlight to search for hiding snake
- duster to dust for footprints
- how the ar museum rooms highlight
- liked the use of different tool interactions
Big Bang in AR : Cern
Weird Type – Zach Lieberman
Starwalk
My Caterpillar
Some nature apps (non ar)
Picture this
Seek