We went to a really great artist talk about Tribe Against the Machine.org – more soon ❤

Becca's ITP Sketchbook

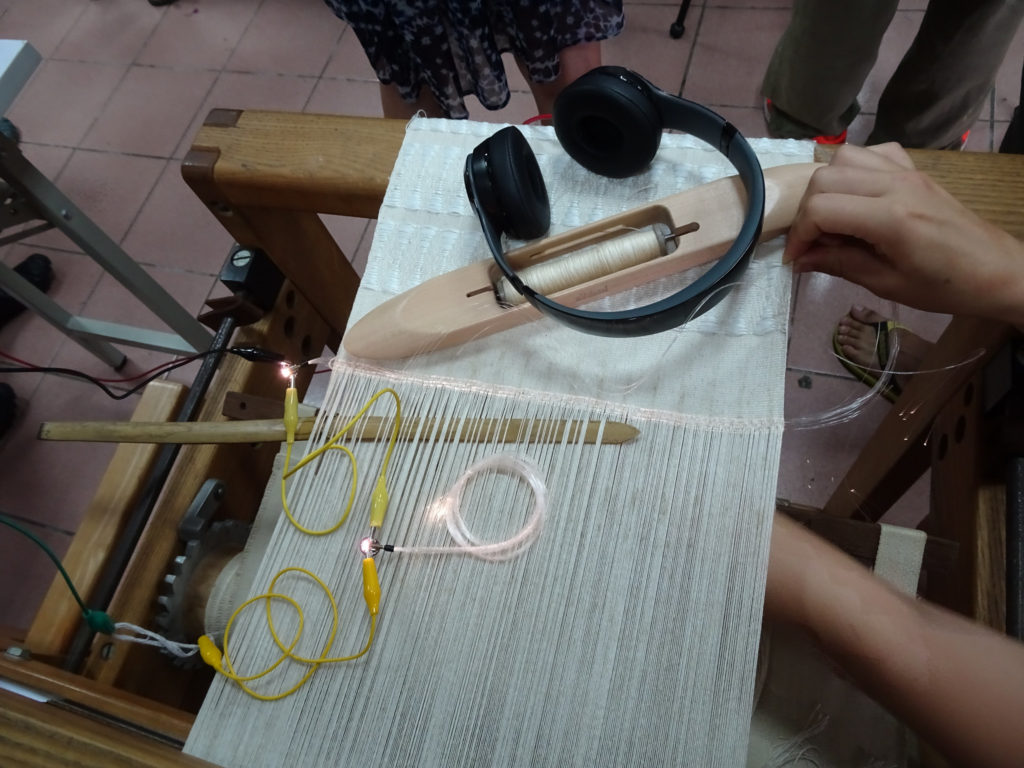
Hw: Cast a Bibenda – Simple Pneumatic Bending Actuator
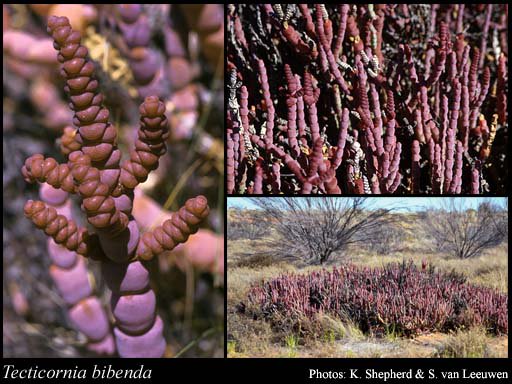
Image Credit: Image the Western Australian Herbarium, Department of Biodiversity, Conservation and Attractions (https://florabase.dpaw.wa.gov.au/help/copyright).
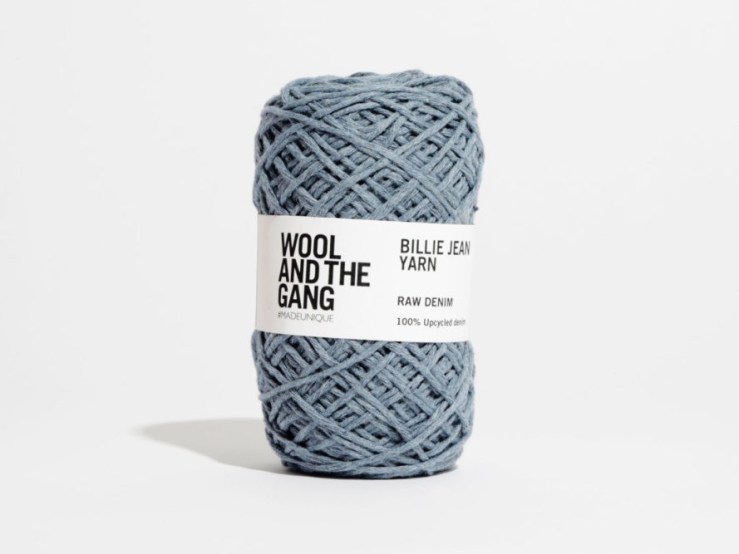
“Newly-classified in 2007, Tecticornia Bibenda is a unique succulent native to Western Australia, and has been recognized as a plant particularly worthy of conservation and continued research. Its segmented stem frequently prompts comparison to the Michelin Man. The Bibenda Actuator’s relationship to this plant extends beyond the nod to the segmented bulbous shape, finding bio-inspiration from the mobility of plants, which move via hydraulic manipulation while most animals use muscle contraction. Usually plant hydraulic motion occurs as tissue-level adjustments of fluid (primarily water): for example, with the inside of a curve having less fluid, and the outside more. ” [chapter 10 Make:Soft Robotics ]
This weekend a few of us that were on the floor at the same time decided to join forces when we couldn’t find the right PVC size reserved from class (and after trying a local hardware store <3). Rachel, Madison, Gabriella & I went through the Bibenda pneumatic actuator tutorial round robin style, taking turns with each step / making sure we each understood & tried out all the tools. Matt was also in the area and reminded us how the Vacuum worked. Arnab who was in the room working on another project mentioned how he was excited to see the vacuum and that he had actually tried to make one himself one time. He mentioned that cellophane could be a good alternative as a material to help with future Silicone mold experiences.
Lessons Learned:


(pictures throughout process with Rachel, Madison & Gabriella – & a thank you to Matt for reminding us how to use the vacuum! We ended up using the remaining PVC from Matt & Ashley’s endeavors. We think either the class had already used the amount designated for the exercise, or maybe it had accidentally been placed into the junk shelf area after a previous group <3)


(Gabriella showing pix post removing from mold)

( learning how to use the Vacuum for the degassing stages)

(Madison pouring the A+B mixed Eco-Silicone mix into our mold from a distance to help with air bubbles)

(Rachel weighing & pouring the A+B mixture)
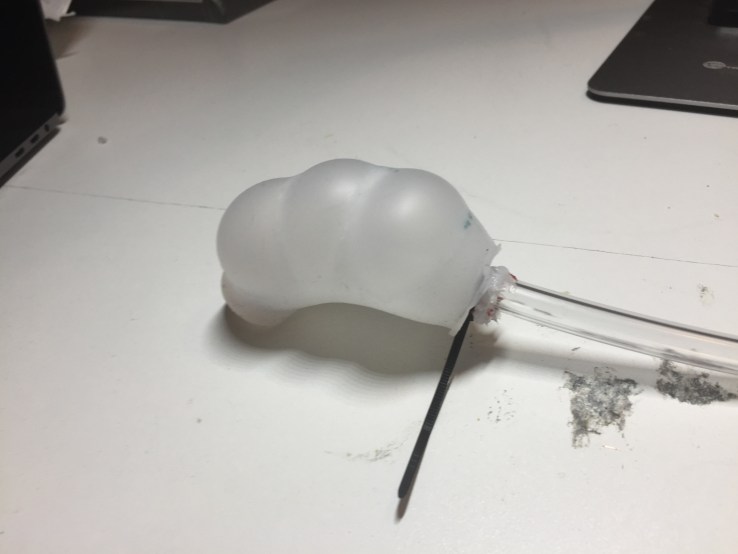
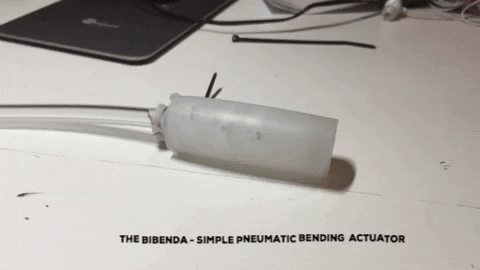
“This pneumatic bending actuator doesn’t have a specific job, but it’s a very good demonstration of how you can create a complex system with a minimal number of simple parts. It also serves as an on-ramp for working with cast silicone for robotics. The Bibenda can be cast in an afternoon, and its size and shape allow for bubbles to easily escape to the top for a clean casting. Another feature is the ease of demolding, which can serve as some early practice as you proceed to the more elaborate projects later in the book. This project can also be hooked up to the air power supply to be controlled digitally, or with a jumbo syringe filled with water to evoke the hydraulic motion of its namesake.
This design highlights the capabilities of using fabric to vary the amount of elasticity. By embedding fabric into the silicone to limit the stretch, we create zones of greater and lesser inflation. You can check out this concept as applied in RBO Hand’s PneuFlex actuators, where this kind of constrained area is referred to as the “passive layer” and includes embedded porous fabric. The PnueNet actuator developed by the Whitesides Research Group at Harvard takes advantage of what they call the “differential strain” effect to help achieve motions such as bending and twisting by using a paper layer to cause more rigidity. Similarly, a collaboration between UPenn and Cornell yielded an octopus-like skin by including fiber-mesh rings to make dynamic multidimensional motion.” – Chapter 10 Make:Soft Robotics


This past Monday we had the great experience of visiting Material ConneXion! and their sustainable materials library . It was such a great experience and perfect complement to our Wearables W9 class (Manufacturing + Crafting) that night as well where Loomia came in to talk us through their process. I was attracted to so many materials, and really after signing up for the student account got lost in their Material Library archive for a handful of hours. What a mindblowing resource! Around 8000 material items to learn from in their digital archive. I found myself tending to be attracted to materials that:


Soft Robotics & Wearables class have been complementing eachother in really nice ways. After our Wearables make up class on Friday covering various soft sensor crafting techniques, felt excited about reaching out to sources through Material ConneXion’s database for samples for knitting soft sensors:


The Material ConneXion library is broken down into 8 different material categories:
More soon!
Tab & Slot Structural explorations + Automatic Pull Strip Mechanism
Went around and shared our homework assignments. A lot of people utilized cross sectioning as a way to strengthen their projects. We then also brainstormed our final projects and were assigned a modular assembly creation challenge.
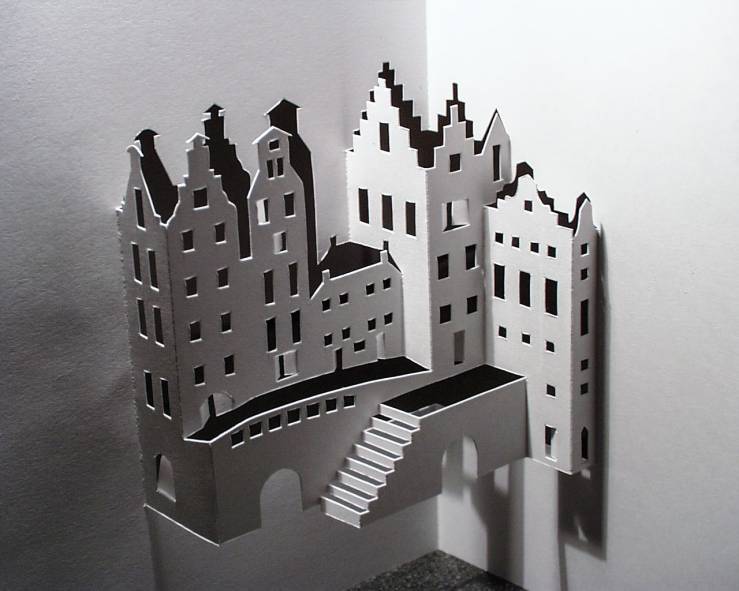
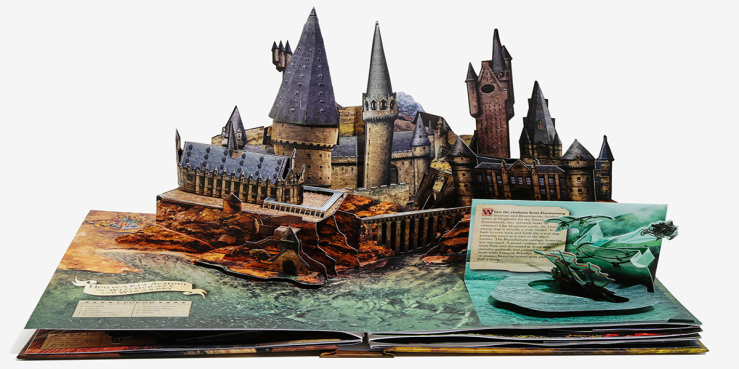
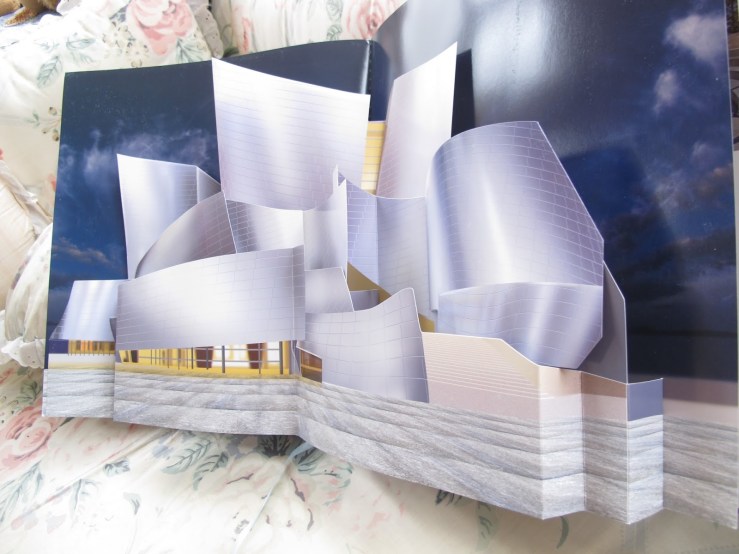
He passed around a couple books and showed us online links to some examples of architectural paper popups he enjoyed like the Amsterdam Canal House below. When someone mentioned they hoped to try a architectural project he mentioned that sometimes like the Harry Potter Popup book below its nice when its a fantastical place because it can allow you scale/realism flexiblity. And mentioned the Frank Gehry Popup book as an example that doesn’t quite hit the mark in that way.
His friend Simon Arzipe’s The Wild Pop-Up Object was really interesting as a storytelling mechanism that can continually rotated through 3 scenes.
We also explored a couple of different Slide Tongue Mechanisms / Automatic Pull Strips
 https://www.instructables.com/id/Color-origami-ball/
 http://howaboutorange.blogspot.com/2011/11/how-to-make-3d-paper-ball-ornaments.html


Link to PDF // Gijs Korthals Altes – polyhedra.net

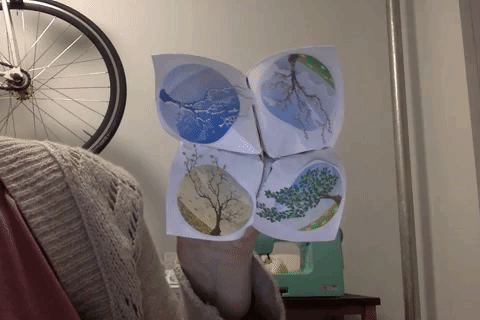

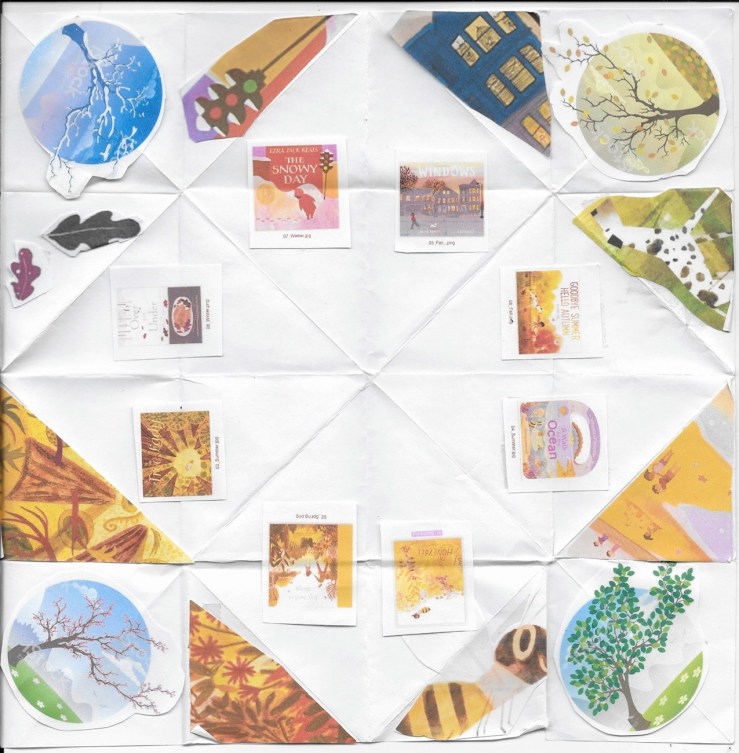
Brainstorming different possible playful search engine methods for exploring different curated collections in the Library of Congress Young Readers Center. How can we allow for both curation but still a sense of serendipity? Thinking of applying the idea of a paper fortune teller simulation, where maybe its an interactive p5js sketch that navigates you using a similar layout as above. Or maybe its a program that generates one for you to fold yourself for older visitors.

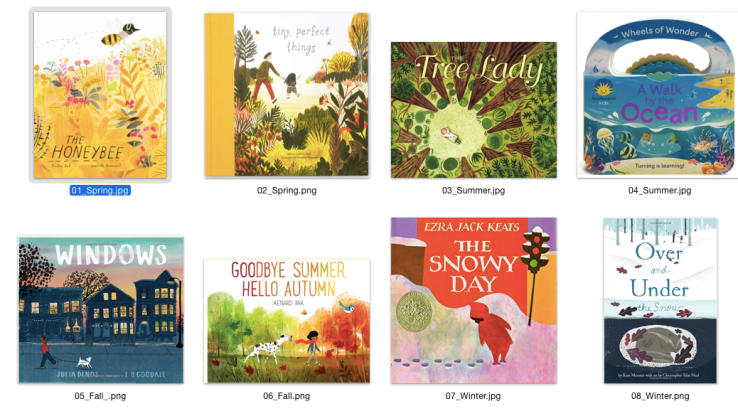
For the test I search a range of children’s books based around different seasons of the year to do a quick paper prototype of the search mechanism. Although the paper fortune teller restricts the title amounts to 8 due to its 8 reveal tabs, maybe from a p5js could access / sift through a larger amount of titles.
A couple questions are leading me to wonder that maybe fuzzy dice or something that can be rolled like dice, with FSR sensors on each face would be a more logical mechanism if looking for future modularity/ interchangeability?
For the Fortune teller concept to work currently its very dependent on the visual illustration of the concepts. And would be unsure how it could become something that librarians could easily change out unless they’re excited to create their own illustrations for their future curated lists? Right now its a very rigid design in that way. How to make it more fluid / interchangeable?


Feeling very inspired by Sasha Solomon’s first keyboard Link: https://medium.com/@sachee/building-my-first-keyboard-and-you-can-too-512c0f8a4c5f

For this project we were asked to think critically about what makes a product need to be part of IOT? Does it actually improve the functionality of the object if its online? Jingwen gave us an example of shopping for microwaves and the idea of do you really need Alexa to heat up your coffee? And encouraged us to think critically about whether our projects are improved by incorporating that layer of functionality.
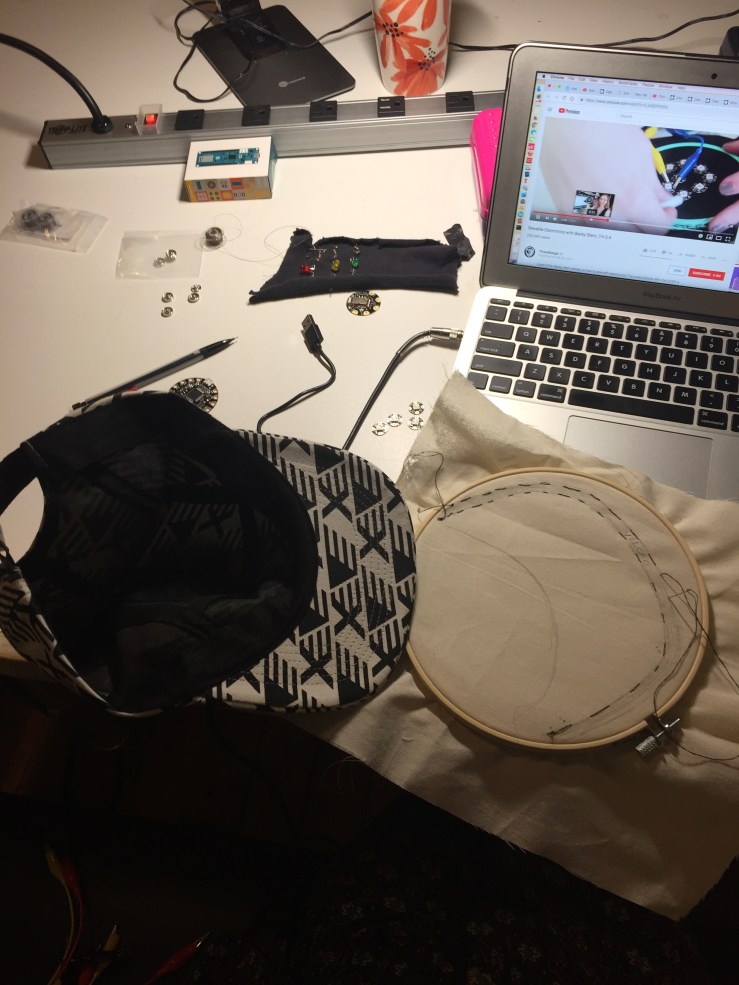
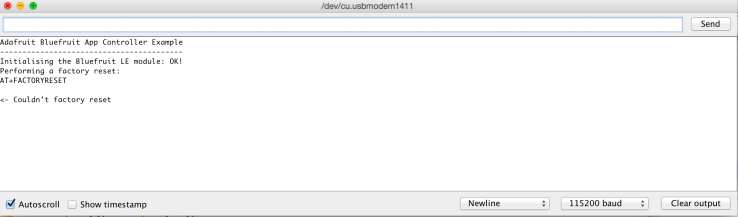
For wearability and accuracy I decided for this project to switch out the Particle Sensor for a Airvisual API + Bluetooth LE setup. Similar to Alvin and his Raspberry pi exploration, I think I dove head first into more than I realized but definitely learned a lot through the process:
Original video of PM sensor + 3 LEDs tied to particulate matter thresholds


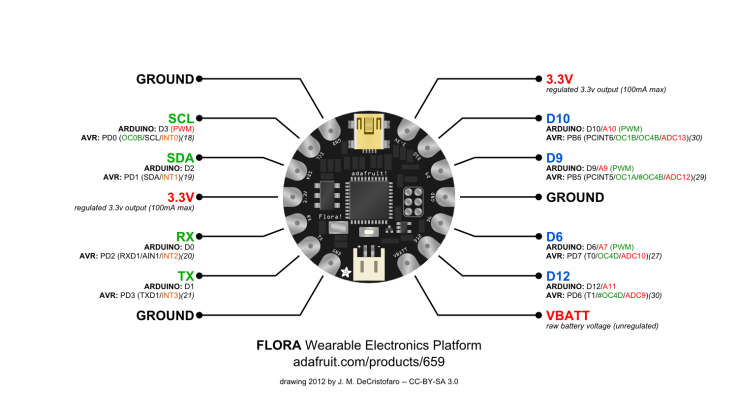
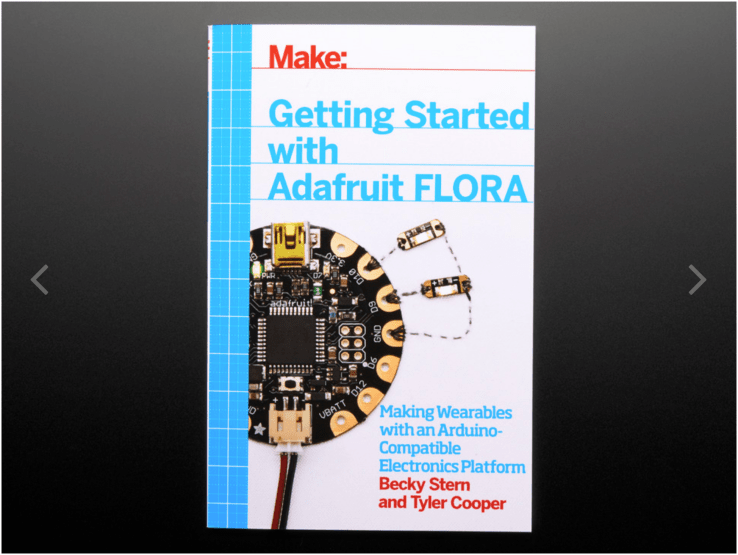
Circuit based on Adafruits’ Flora+Bluefruit BLE + Neopixel + Bluefruit App:


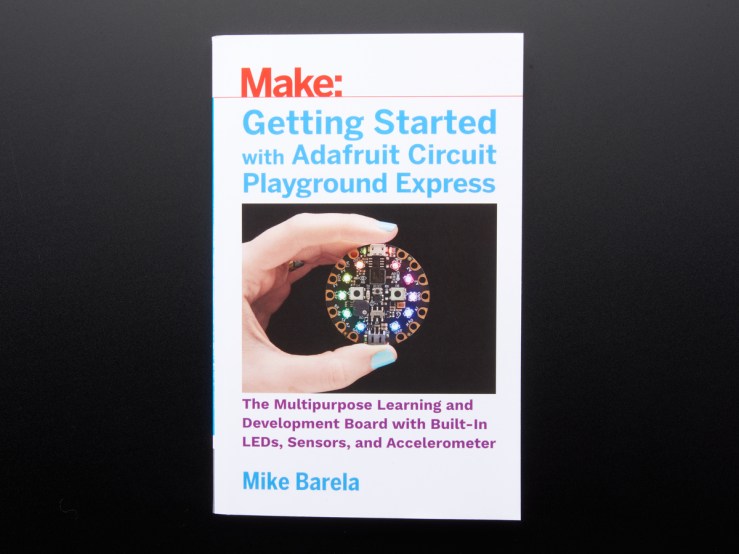
Understanding differences between Circuit Playground Classic, Circuit Playground Express, and Flora

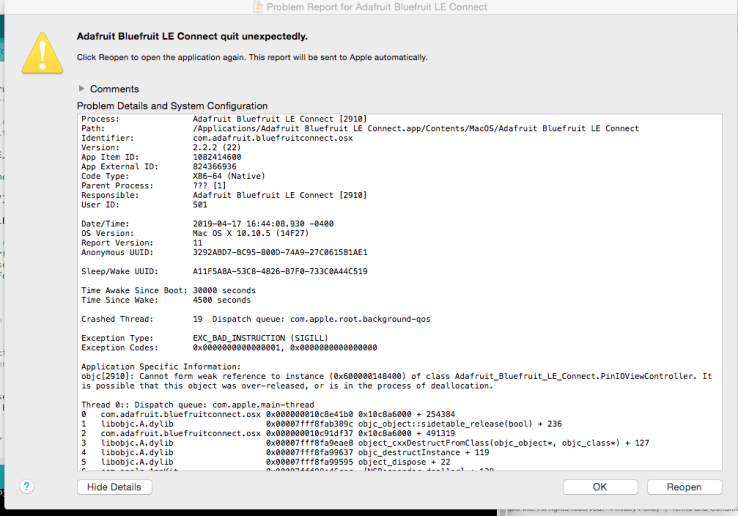
After seeing that my initial bluetooth circuit wasn’t communication to the neopixels w/ the Bluefruit app, took Arnab’s advice to break it into small blocks for debugging starting with the neopixel components. Both tests worked without the Bluefruit Bluetooth module in the circuit, so now I know its either the BlueFruit module or the code example. When running Jingwen’s FSR example, I was able to connect a couple times through the app & was reflected in the serial monitor, however it wasn’t producing a range of values when i pressed the FSR?
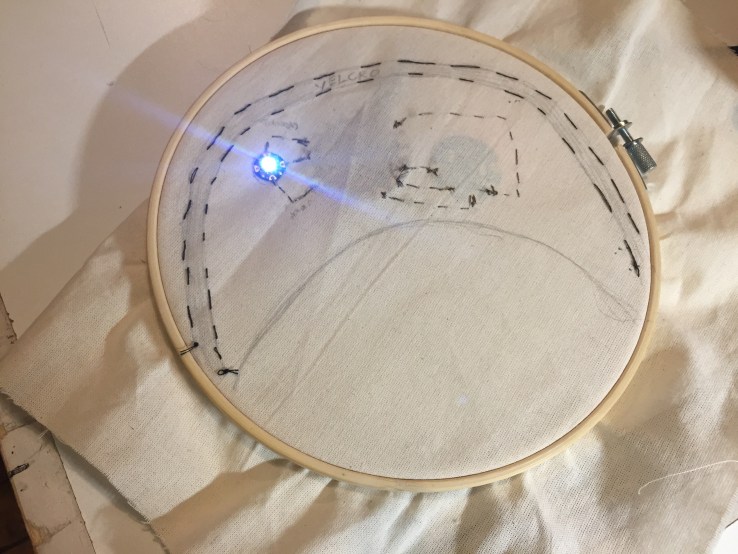
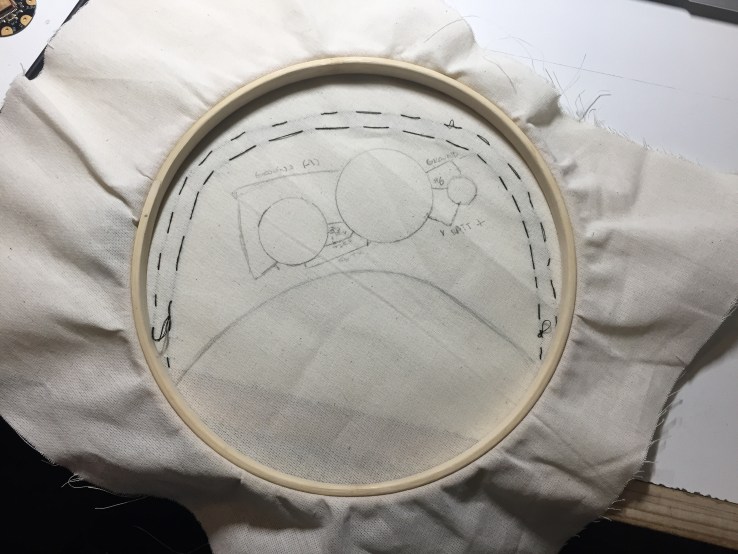
**neopixel originally lit up on hat but was not changing color / had a short due to having added the neopixel into the circuit backwards and also initially using graphite to trace the component placement on muslin, forgetting it was a conductive material.


Last weekend Mary and I talked through thinking about how to call a live API JSON file with Arduino using arduinojson. I also printed out her project’s code Storm’s A Comin’ 2.0 to see if I could follow the logic / better understand what would need to be adjusted from her experience for the AQ Hat + Air Visual API. I think also classmate Jillian Zong’s Umbrella Notification Light code might help me better understand as well?

 Sifting Through a Storm A Comin’s Code using arduinoJson

AirVisual // Free API key for community usage up to a certain call amount
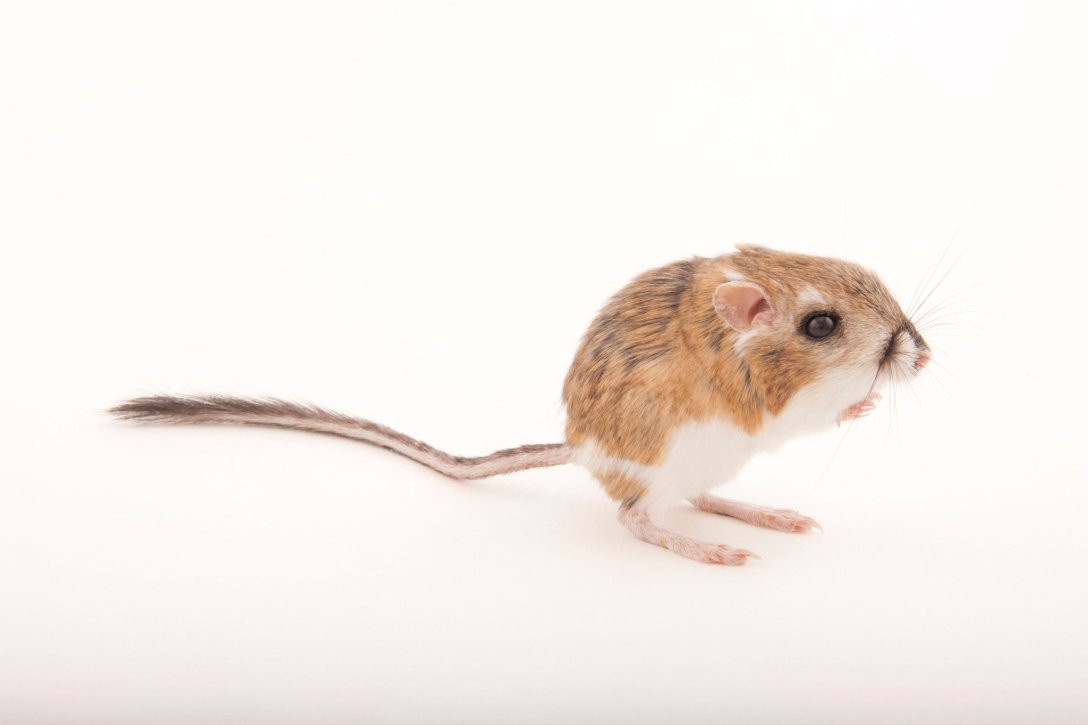

Originally for the assignment I started thinking about jellyfish both their phosphorescence and self-healing abilities. However, there’s a lot of current existing technology and applications centered around those qualities so tried to think a little more on another animal and came across the kangaroo rat ❤ It has an increased ability for water storage, having adapted to its desert climate. According to its wiki page there are a few qualities that play into its superwater storage ability are its kidneys, its back legs that allow it to bounce around large areas for high carb seeds that yield it water, and its skull anatomy.
I wonder if there’s a way to incorporate the structural understanding or its longer nasal cavities into housing for tech to keep it cooler or more moist. Thinking about the potential benefits of a counter- current exchange system.
“Desert kangaroo rats have the longest nasal cavity of all the kangaroo rats, which allows for better water conservation. Hot, dry air can remove water from the body. The long nasal cavities reduce this water loss by cooling the air leaving the lungs. Cooling air releases moisture for reabsorption to the body so its loss can be avoided in a situation where water is a precious resource.[5]”
__________________________________________________________________________________
Desert kangaroo rats have the longest nasal cavity of all the kangaroo rats, which allows for better water conservation. Hot, dry air can remove water from the body. The long nasal cavities reduce this water loss by cooling the air leaving the lungs. Cooling air releases moisture for reabsorption to the body so its loss can be avoided in a situation where water is a precious resource.[5]”

(slide from powerpoint presentation Illinois University )